Reducing file sizes while keeping video quality
Are you looking to send professional video content to your target audience over email or on your social media platforms? If so, it’s important to consider if your video file is small enough first. This sounds simple enough, doesn’t it? But getting the right file size so that your video shows up in the clearest, best possible quality isn’t necessarily straightforward. It depends on a number of different factors, including the type of computer you have, the type of video file you’re using and even the software you used to make the video in. If you’re not sure where to start, don’t worry! In this blog we share with you a quick and helpful guide on how to reduce video file sizes, no matter which operating systems or editing software you use. So, let’s get into it!
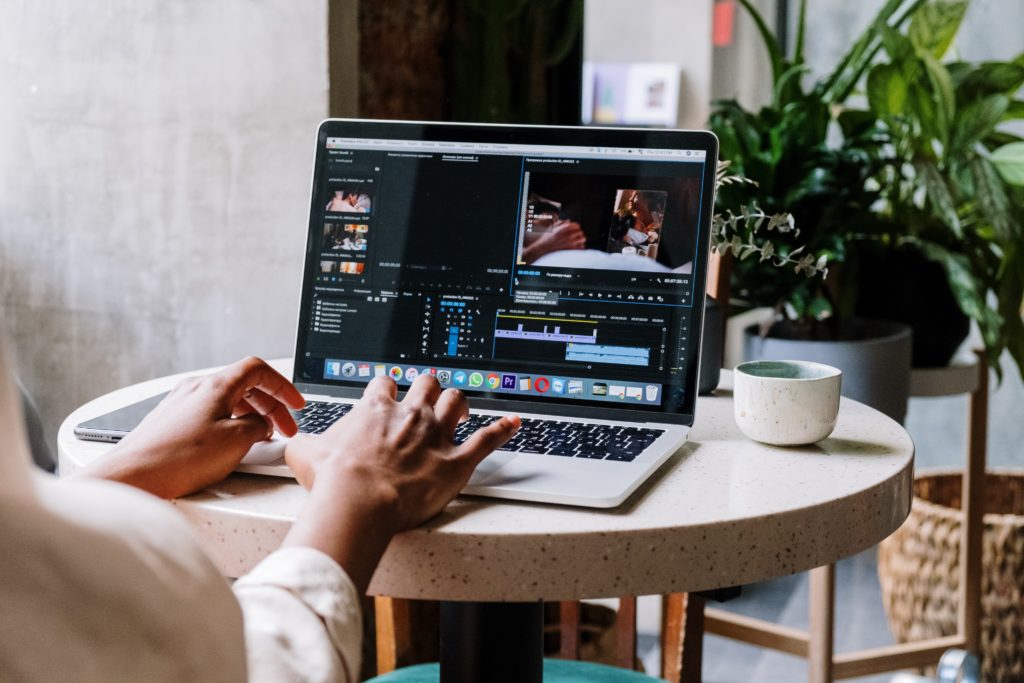
How to reduce a video file size on Mac
If you’re using a Mac to create your videos, it’s likely you’ll be using either iMovie or QuickTime with the video files showing up as .MOV. Either way, you will need to be careful when compressing the video to ensure no loss of quality. When using QuickTime, if you don’t already know what resolution your .MOV video is already, you can find out by going to Window > Movie Inspector.
To reduce video file size in iMovie for a Mac, you will need to follow these steps:
1. Open iMovie
2. Click Create New > Movie
3. Click File > Import and select the saved video that you want to compress
4. The video file you want to reduce will appear in your browser window. Drag it into your timeline window
5. Click File > Share > File
6. Choose your export settings. Adjusting both Resolution and Quality will have the most impact on the file size, but you can also set the Compress dropdown to Faster. Click Next after this
7. Name your video, choose where you want to save it, and press Save
To reduce the size of a .MOV video file in QuickTime, you will need to:
1. Open up QuickTime Player
2. In most cases, you’ll get a popup asking you to select your video. If you don’t, click File > Open File
3. After this, click File > Export As…
4. There, you should find a list of video resolutions. Choose the next lowest resolution to the one your video is currently
5. Name your video and choose a place to save it
How to reduce a video file size on Windows 10
There are a lot of different ways to reduce video file sizes for Windows 10, including a range of video compressors and other tools you can get online (some for free!). To keep things simple, we’re going to stick to the basics by using its built-in Video Editor app as an example of how to compress your videos using this operating system:
1. Open up Video Editor on Windows 10 (go to Start and scroll to find it)
2. Click on New Project
3. Name the video you’re going to make and press OK
4. Drag and drop the downloaded video content that you want to make smaller onto the Video Editor window. You can also press Add and select the video to do the same thing
5. In the Video Editor window, drag the video from the Project Library and drop it on the storyboard at the bottom
6. Tap on Finish Video, in the top right corner of the Video Editor window
7. Once you’ve done this, the Editor should open up a dialogue and ask you about the video quality. Click the preselected option, which will normally be “High 1080p (recommended)”
8. To reduce the size, select “Medium 720p” or “Low 540p”. The Medium option in particular is great for making the file size smaller without losing too much quality in the process, but if you’re restricted by file size limits when sending videos out, use the lowest option possible
9. After you’ve made your decision, click Export and select the location you want to save your file on your PC
Depending on the length and the original quality of the video you’ve compressed on Windows 10’s Video Editor, you may find that the converted video ends up even smaller than you originally imagined it might. To ensure your work is saved in its best format and file size, we would recommend testing the video to make sure it’s suitable once the file has been compressed, and trying again if the file is too small or poor quality.
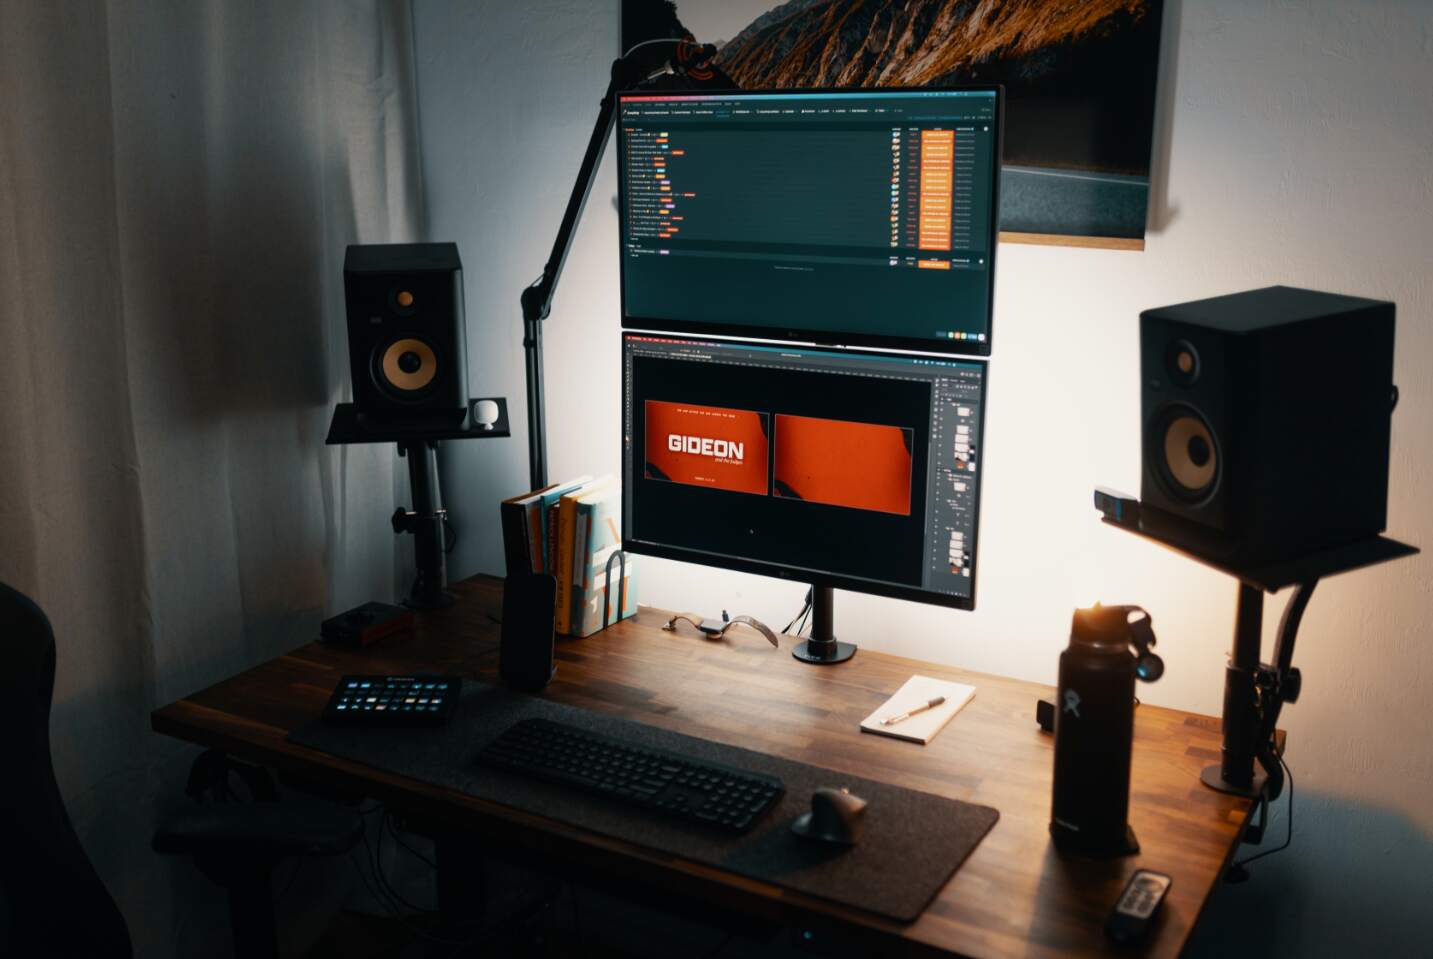
How to reduce a video file size in Adobe Premiere
Adobe Premiere is one of the most popular video editing software types for movie makers, and it comes with everything you could need to start making videos that look their best and can be shared or submitted anywhere. Here’s how to reduce the file size for a video you’ve uploaded on Premiere:
1. Once you’ve finished using Premiere to edit your video, click Share in the top right-hand corner of the window
2. You should be presented with a series of export options. Select QuickTime to make sure the file type can be viewed on software such as QuickTime itself or VLC Media Player, if you don’t want to play it on Premiere again
3. Click on Advanced to adjust the screen resolution and sampling rates. You should be presented with the Export Settings Window
4. Change the Video Codec to H.264
5. Under the Video tab, scroll down and until you see the settings labelled Width and Height. Adjust these to suit your needs but ensure the frame rate stays the same
6. Click OK. You should be offered a chance to save these export settings as a preset, as well as the option to choose a name for that type of file to use in the future
7. You’ll be taken back to the basic export window after this. Check that the name and resolution settings you want to use are accurate, before clicking Save
8. You should be met by a Rendering Media message, which will tell you how long the file should take to complete
Looking to create high quality and shareable video content?
If the answer is yes, DreamingFish are here to help! We’re proud of the portfolio we’ve created over the years for a range of different clients, both across the UK and worldwide. Our talented team are ready to help you create and share the videos you want your target audiences to see. Whether it’s live-action, demo, product or animation, we’ll work closely and collaboratively with you to make sure your video is exciting and engaging for your viewers. Interested in learning more? Why not get in touch with us today to find out more about our video production services!